Air mattresses have become a popular sleep solution, offering portability, affordability, and sometimes even adjustability. But what happens when your trusty air mattress springs a leak? Don’t despair! Patching a hole is a budget-friendly fix that can extend the life of your air mattress and save you from sleepless nights.
Is Patching Worth It?
Before we dive into patching techniques, consider the extent of the damage. Small punctures or tears can be effectively patched, but larger rips or damage to seams might require replacing the mattress. Additionally, if your air mattress is nearing the end of its lifespan or has multiple leaks, a replacement might be more cost-effective.
Gathering Your Patch Arsenal
Now that you’ve decided patching is the way to go, let’s gather the tools you’ll need:
Patch Kit:
- Most air mattresses come with a patch kit containing pre-cut vinyl patches and adhesive. If you’ve lost yours, don’t worry! You can use a vinyl repair kit from a hardware store or online retailer.
- Make sure the patch kit is compatible with the material of your air mattress.
- If you’re not sure what type of material your air mattress is made of, consult the manufacturer’s instructions or look for a label on the mattress.
Scissors (optional):
- If you’re not using a pre-cut patch, you’ll need scissors to cut a patch from vinyl repair material.
- Use sharp scissors to make a clean cut.
- The patch should be slightly larger than the hole you’re repairing.
Rubbing Alcohol or Isopropyl Alcohol:
- This will clean the area around the hole for a stronger bond.
- Apply the alcohol to a cotton swab or cloth and wipe the area around the hole clean.
- Let the alcohol dry completely before applying the patch.
Emery Cloth (optional):
- This can be used to roughen the surface of the patch and the mattress for better adhesion, especially for heavy-duty repairs.
- Use a fine-grit emery cloth to lightly sand the surface of the patch and the area around the hole.
- Be careful not to sand too much, as you don’t want to damage the material.
Hair Dryer (optional):
- A hairdryer can help speed up the drying process of the adhesive.
- If you’re impatient, you can use a hairdryer to dry the adhesive after you’ve applied the patch.
- Hold the hairdryer about 6 inches away from the patch and move it around in a circular motion until the adhesive is dry.
Locating the Leak: The Great Air Detective Game
Before patching, you need to find the culprit – the sneaky leak! Here are some detective tips:
- Inflation and Listening: Inflate the mattress and listen for hissing sounds. This can help pinpoint the location of the leak.
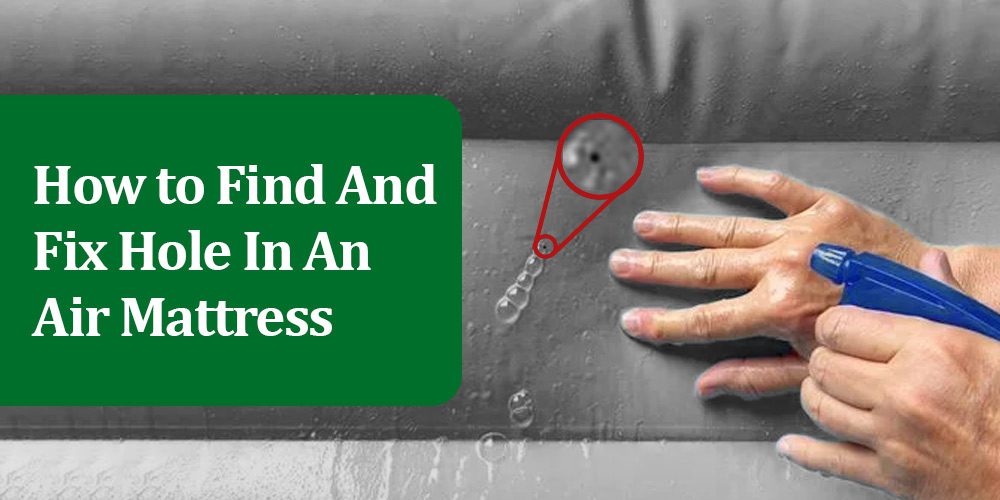
- The Soapy Water Trick: Fill a spray bottle with soapy water and mist the mattress. Bubbles will form around the leak, revealing its location.
Patching Up Your Air Mattress: A Step-by-Step Guide
Once you’ve identified the leak, it’s time for patching! Here’s a step-by-step guide:
- Deflate the Mattress Completely: This ensures a secure and effective patch.
- Clean the Area Around the Leak: Use rubbing alcohol to clean the area around the hole, removing any dirt or debris that might hinder adhesion.
- Roughen the Surface (Optional): For heavy-duty repairs, you can use emery cloth to lightly roughen the surface of the patch and the area around the hole. This helps create a stronger bond.
- Prepare the Patch: If you’re using a pre-cut patch from a kit, follow the manufacturer’s instructions. If using vinyl repair material, cut a patch slightly larger than the hole, with rounded corners to prevent them from peeling later.
- Apply the Adhesive: Most patch kits come with adhesive. Apply a thin layer of adhesive to the back of the patch, ensuring all edges are covered.
- Position the Patch: Carefully place the patch over the hole, ensuring it’s centered and completely covers the leak.
- Press Firmly: Press down firmly on the patch for at least 30 seconds to ensure good adhesion. You can use a weight like a book to apply additional pressure.
- Drying Time: Refer to the patch kit instructions for drying time. It typically ranges from a few hours to 24 hours. Resist the urge to inflate the mattress too soon!
- Re-inflate and Test: Once the drying time is complete, re-inflate the mattress and listen for any leaks. If you hear a hiss, repeat the patching process.
Bonus Tips for Patching Success:
- Patch Both Sides (Optional): For extra security, you can patch both sides of the leak, especially for larger holes or heavy-duty mattresses.
- Consider a Second Patch: If the leak persists after one patch, don’t give up! Apply a second patch over the first one for a stronger seal.
- Preventative Measures: To minimize the risk of future leaks, avoid placing sharp objects near your air mattress and be mindful of weight limitations.
Beyond the Patch: When to Consider Replacement
While patching can extend the life of your air mattress, it’s not a permanent solution. Here are some signs that a replacement might be necessary:
- Multiple Leaks: If your air mattress has several leaks, patching becomes a time-consuming and potentially frustrating endeavor. Constantly battling leaks disrupts your sleep and defeats the purpose of a comfortable mattress.
- Age and Deterioration: Air mattresses, like any product, have a lifespan. Typically, they last 5-7 years with proper care. If your mattress is nearing the end of its expected life and shows signs of wear and tear beyond leaks (like sagging or material breakdown), a replacement might be a wiser investment.
- Loss of Support: Over time, air mattresses can lose their ability to provide proper support. If you wake up with aches and pains, it might be a sign that the mattress is no longer offering the necessary support for a good night’s sleep.
Conclusion: Patching for Continued Comfort
Patching a hole in your air mattress is a simple and cost-effective way to extend its life and save yourself the hassle of buying a new one. By following the tips and steps outlined above, you can become a patching pro and enjoy restful nights on your air mattress for longer. Remember, patching works best for small leaks on mattresses in relatively good condition. If your air mattress is riddled with leaks, showing signs of significant wear and tear, or no longer provides proper support, consider a replacement to ensure a comfortable and restful sleep experience.
Disclaimer: This blog post is for informational purposes only. For any concerns about the safety or repair of your air mattress, consult the manufacturer’s instructions or a qualified professional.


